Before your Zoom lesson
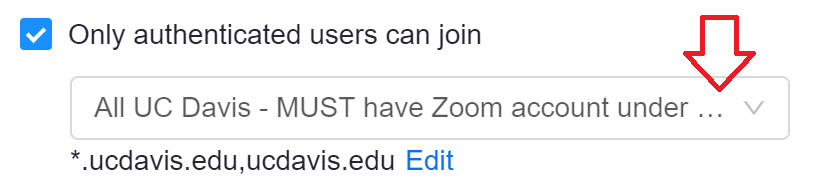
- If you'd like to pre-assign Breakout Rooms before your Zoom lesson, enable "Only authenticated users can join"
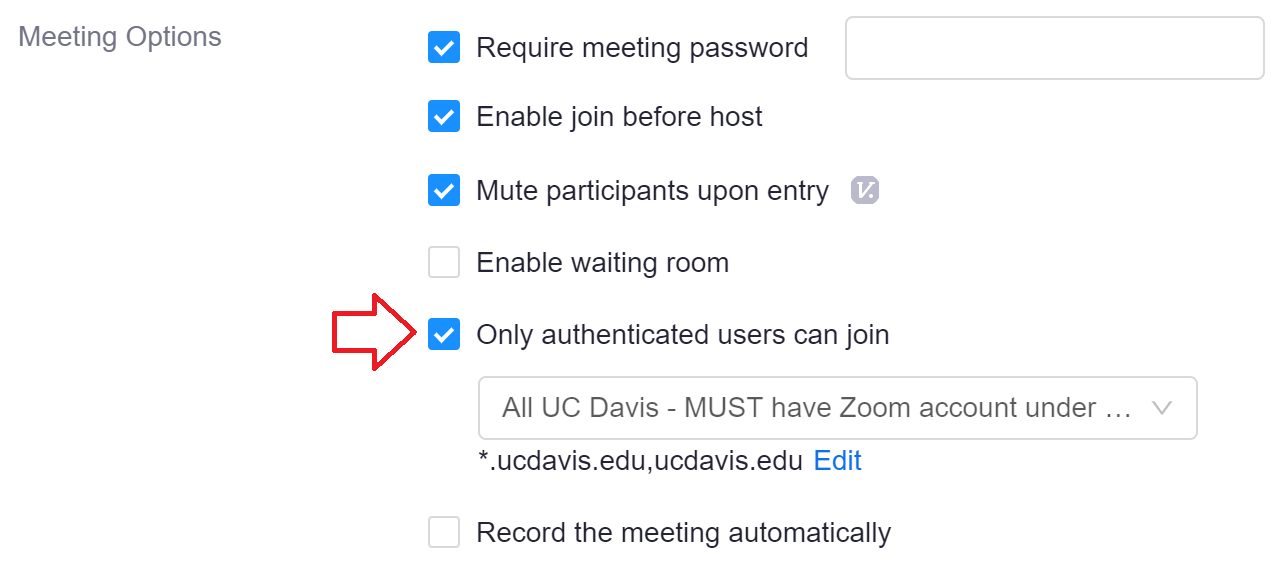
- Select "All UC Davis - MUST have Zoom account under @ucdavis.edu address *.ucdavis.edu,ucdavis.edu" from the dropdown list.
Otherwise, follow Zoom's instructions for Creating and Managing breakout rooms to create and randomly assign Breakout Rooms (or assign students manually).
Please read additional information about Pre-assigning participants to breakout rooms including limitations, how to pre-assign, how to import a CSV of students, and more.
Pre-assigning Participants
You can manually create and assign students to Breakout Rooms, but only if the student is a member of the same account (ucdavis.zoom.us). To pre-assign all students, import a CSV.
- Edit your meeting
- Enable "Breakout Room pre-assign"

- Select "Import from CSV"
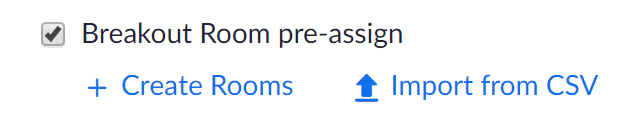
- Download a CSV template, edit it, and upload

- Save the Breakout Room Assignment

- Save the meeting
During your Zoom lesson
Note: Co-hosts cannot manage Breakout Rooms. Co-hosts cannot assign, re-assign, open, or close Breakout Rooms. Co-hosts will be able to freely join any Breakout Room. Assign a TA to be the Host to manage Breakout Rooms.
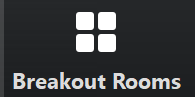
- Click on the Breakout Rooms to view Rooms.
- Zoom will take who has joined your meeting and automatically pre-assign them. If a student joins the Zoom meeting after you open this window, Zoom does not know and will not automatically pre-assign that student(s).
Our recommendation is before opening the Breakout Rooms, click the "Recreate" button and "Recover to pre-aassigned rooms".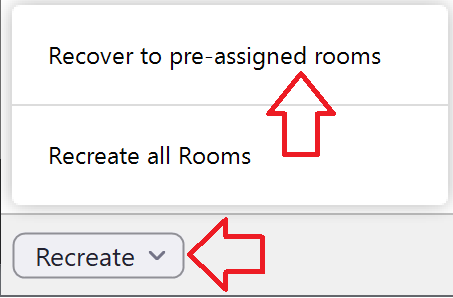
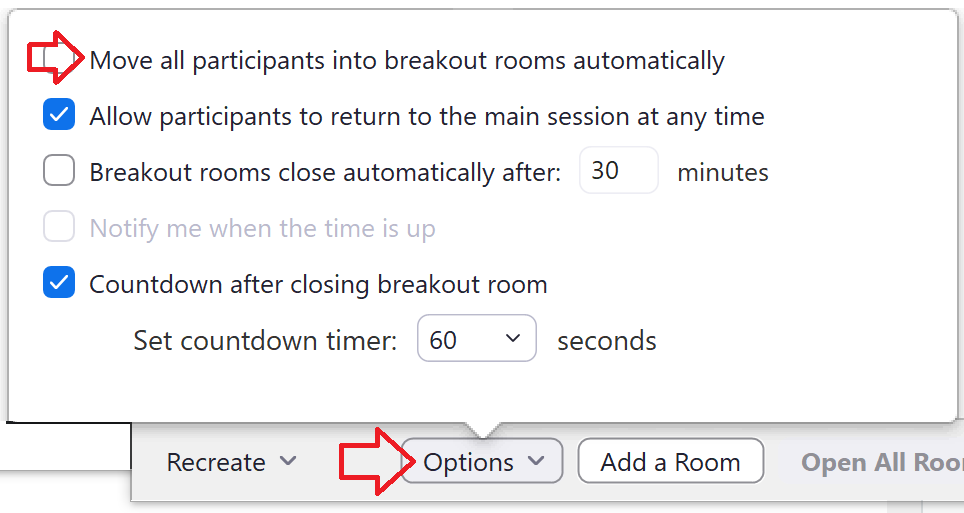
This will tell Zoom to take all students in the Zoom meeting and assign them to Breakout Rooms per your pre-assignment list. - There are additional options you can choose like "Move all participants into breakout rooms automatically".
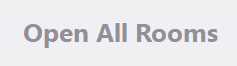
- When ready, "Open All Rooms"
- After the Breakout Rooms are open, you can manually re-assign a student from one room to another, or manually assign a student to a room.
Students not assigned to a Breakout Room will appear as "Unassigned". Hover over their name to manually assign that student to a Breakout Room.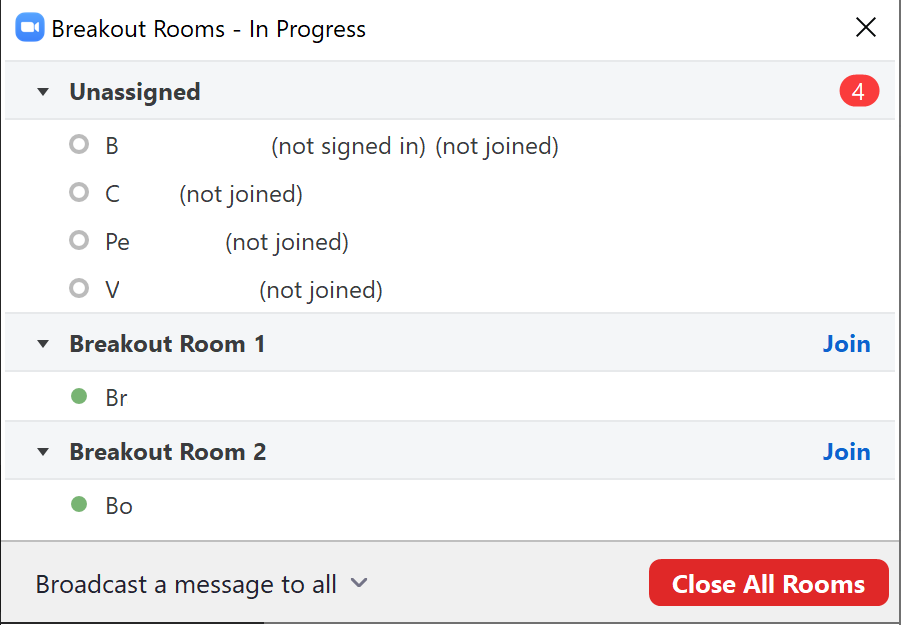
- You can also join any Breakout Room yourself by clicking the "Join" button. You can only be in one room at a time (e.g. main session or a Breakout Room).
- Click the "Close All Rooms" button to close all Breakout Rooms and return your students to the main session.
0 Comments