Manually Connect to eduroam
1. Go to your task bar and right-click on the network icon.
2. Click Open Network and Sharing Center.

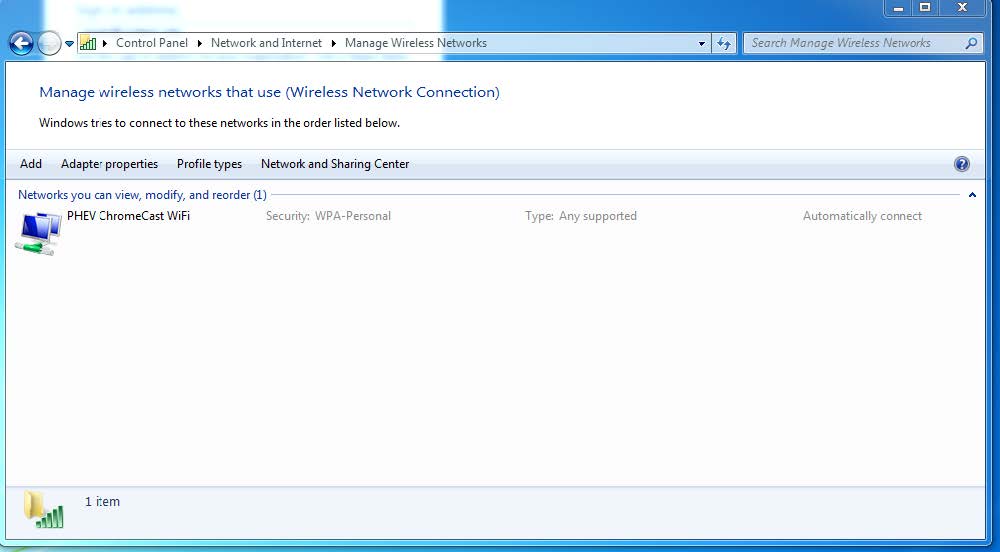
3. Click Manage Wireless Networks. On the next page, go to the taskbar at the top of the window and click Add.
4. A window asking you How do you want to add a network? will pop up.
5. Choose Manually Create a Network Profile.
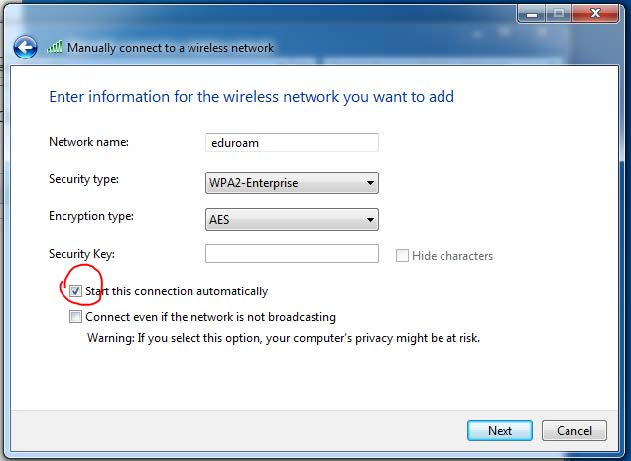
6. Enter the following information in the indicated fields:
o Network name: Enter eduroam
o Security type: Choose WPA2 Enterprise
o Encryption Type: Choose AES
7. Make sure that you select the option to Start this connection automatically. After you have finished, click Next.
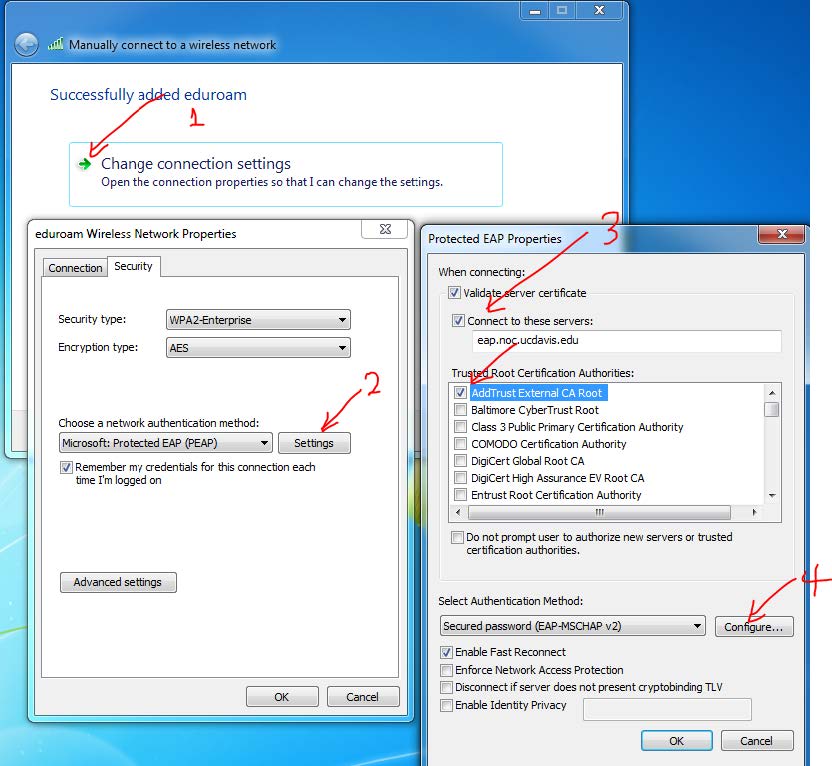
8. Click Change Connection Settings.
9. In the window that appears, click the Security tab. Once you are in the Security tab, click Settings.
o Select: Connect to these servers and enter eap.noc.ucdavis.edu
o Select: AddTrust External CA Root
11. When you have selected both options and entered the correct information, click Configure.
12. Unselect Automatically use my Windows logon name and password and click OK.
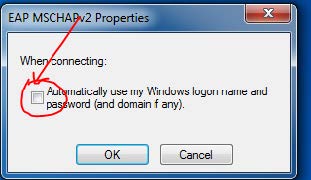
13. Click OK again.
14. Click Advanced Settings.
15. When the Advanced Settings window appears, select Specify authentication mode, and choose User or computer authenticator.
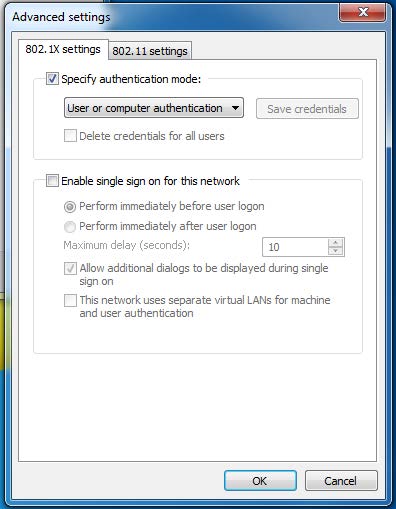
16. Click OK and then Close.
17. An informational prompt asking you to enter your login information will appear. Click Enter/Select additional logon information.
18. When the Network Authentication window appears:
o Enter your Kerberos LoginID@ucdavis.edu in the Username field.
o Enter your Kerberos Passphrase in the Password field.
Click OK. You should now be connected to eduroam.
0 Comments