Please jump to the section on Activating ArcGIS if you already have ArcGIS installed.
This guide is brought to you by Windows 7 and ArcGIS Desktop 10.5.
Install ArcGIS
- Download the appropriate software.
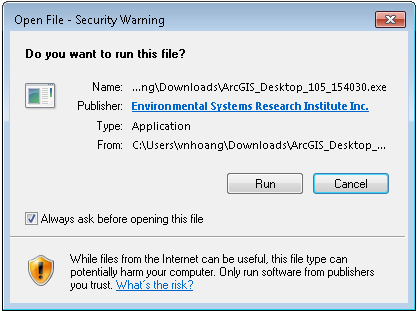
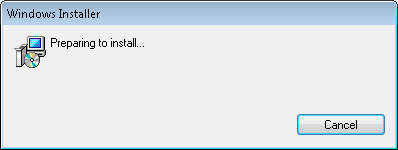
- Run the installer. You may need to wait a little but for a window to appear.

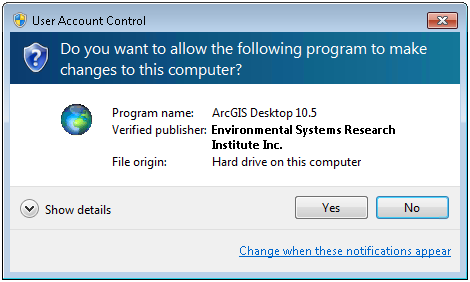
- Accept any UAC prompts for an administrator account. If necessary, input your admin credentials.
- Choose a destination folder.
Optional: change the location.
Press Next.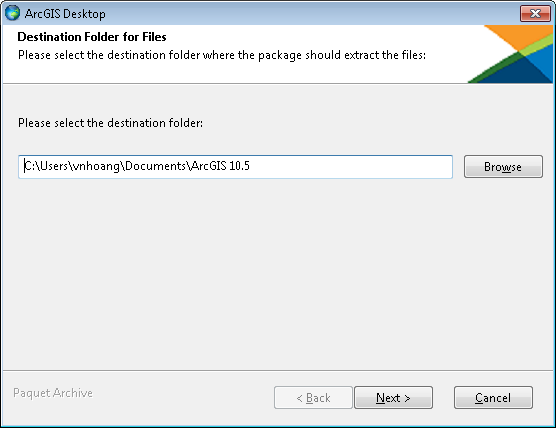
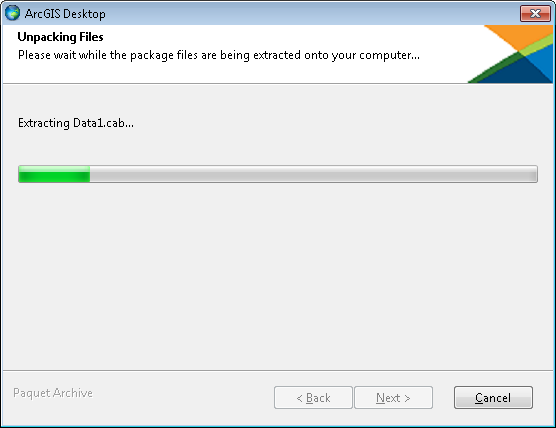
- Wait for the files to unpack.
- Make sure the box is checked to launch the setup program.
Press Close.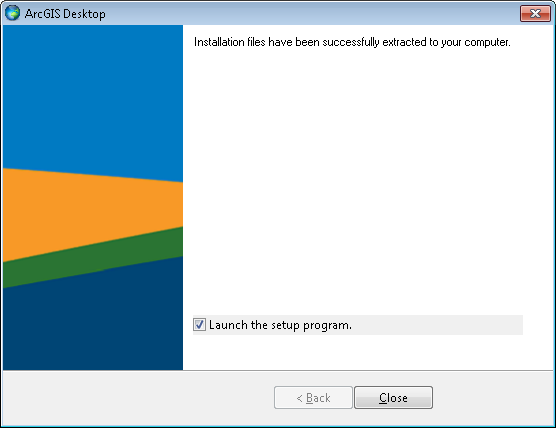
- Accept any UAC prompts for an administrator account. If necessary, input your admin credentials.
- Wait for the installer to start.
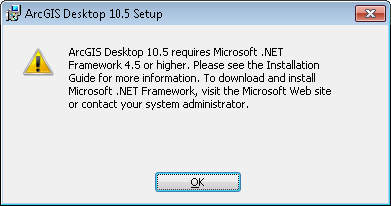
- System requirement: Microsoft .NET Framework 4.5 or higher. If you get the message about needing it, please go to https://www.microsoft.com/net/download/framework to download the latest version.
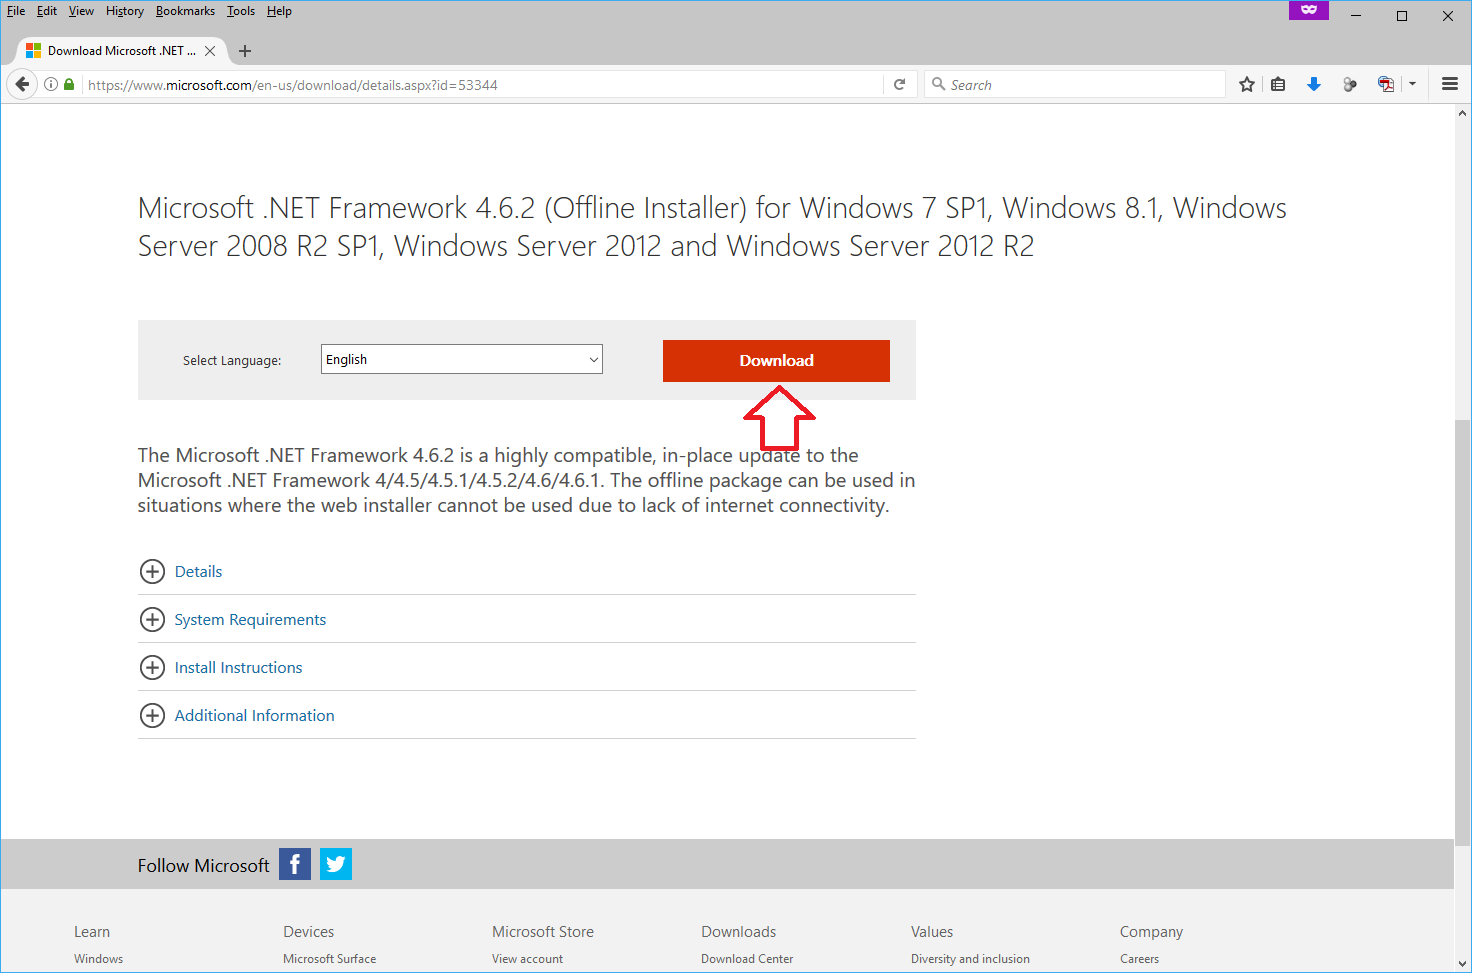
- Visit the website
- Select the latest .NET Framework only

- Click the Download button
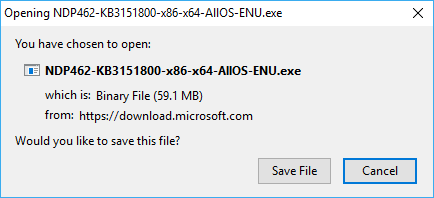
- If asked, save the file
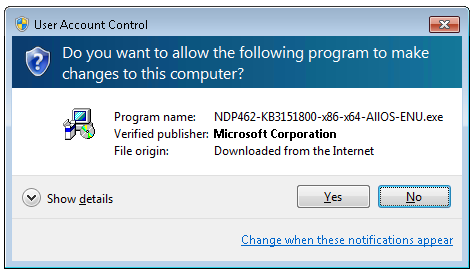
- Run the file

- Accept any UAC prompts for an administrator account. If necessary, input your admin credentials.
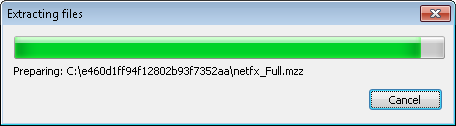
- Wait for files to extract
- Wait for the installer to finish

- Press Finish.

- If you get any sort of message and cannot continue, restart your computer.

- Wait for Windows Update to finish
- Find the location of your extracted files. Unless you changed it, go to your My Documents folder.
- Open the ArcGIS folder.
- Go into the Desktop folder.
- Run the Setup file.

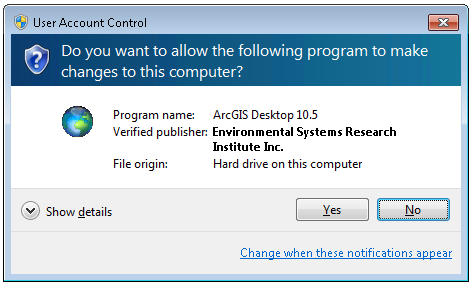
- Accept any UAC prompts for an administrator account. If necessary, input your admin credentials.
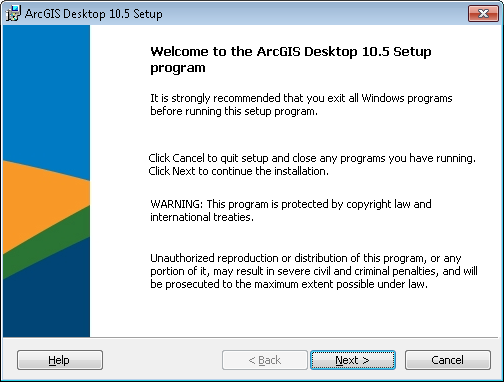
- Press Next on the Welcome screen.
- Accept the License Agreement.
Press Next.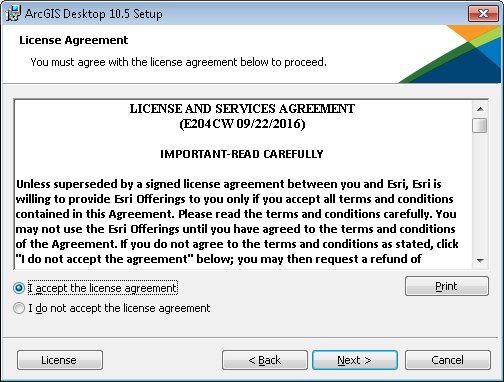
- Select where you want to install all ArcGIS features or some.
We've chosen Complete.
Press Next.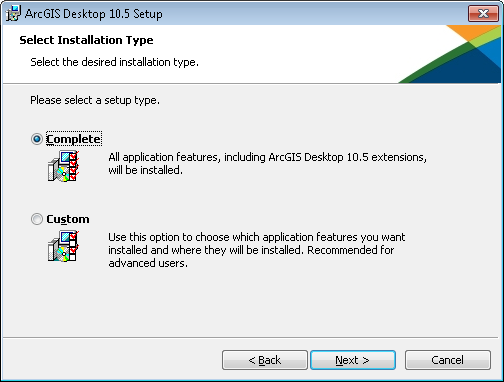
- Optional, but not recommended: Change the ArcGIS installation destination folder.
Press Next.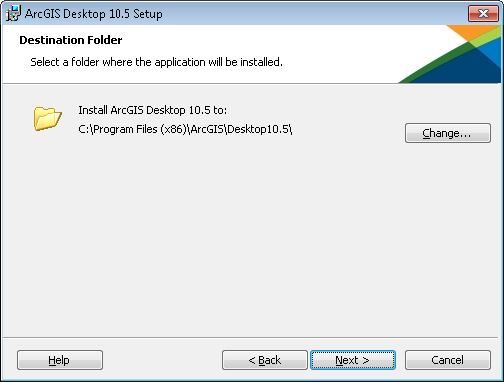
- Optional, but not recommended: Change the Python installation destination folder.
Press Next.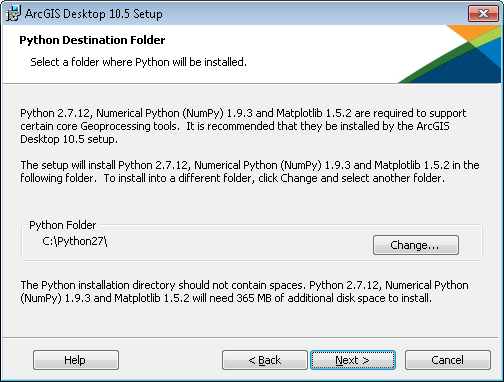
- Optional: Join the Esri User Experience Improvement progam.
Press Next.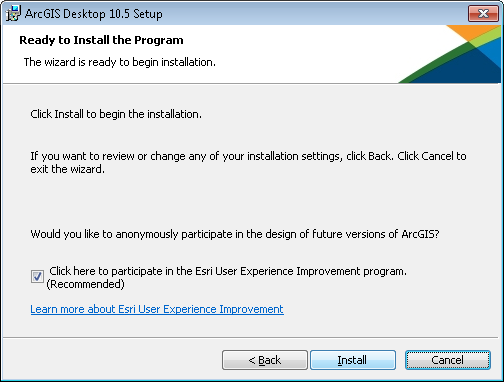
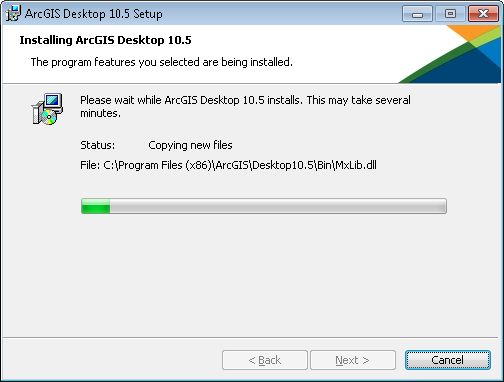
- Wait for ArcGIS Desktop 10.5 to install.
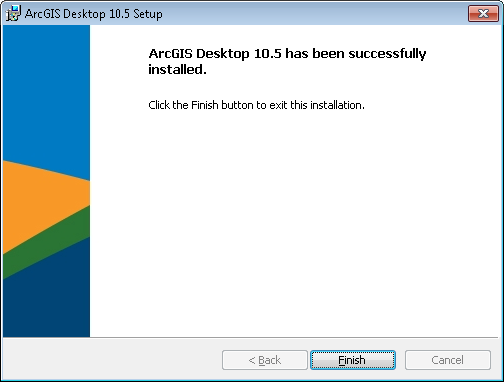
- Press Finish.
- Input License Information if it pops up, or skip to #_ in the next section
Activate ArcGIS with a license file
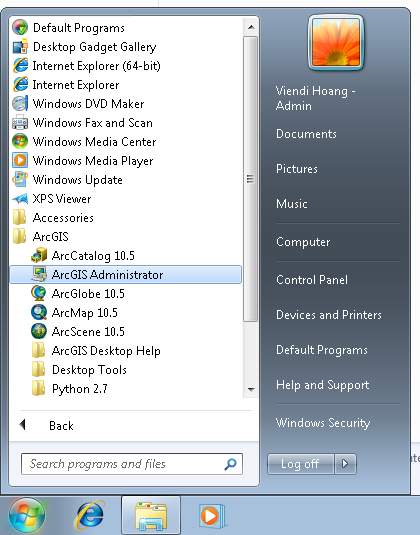
- Open the Start Menu.
- If needed, display All Programs.
- Go to the ArcGIS folder.
- Open ArcGIS Administrator.
- Accept any UAC prompts for an administrator account. If necessary, input your admin credentials.

- Select your product.
ArcGIS Desktop
Advanced (ArcInfo) Single Use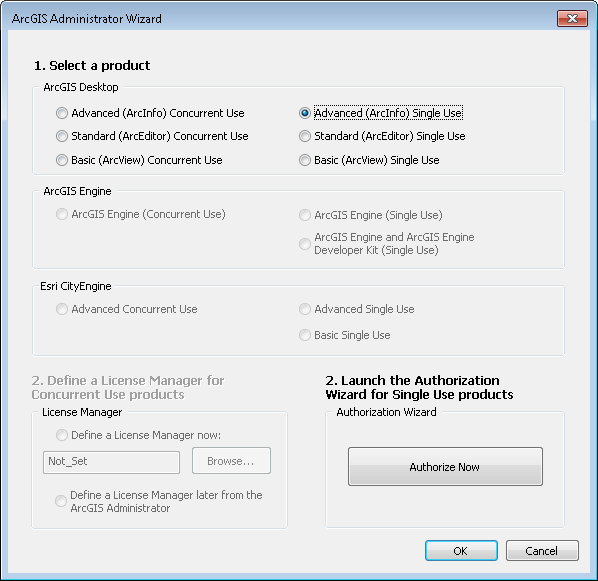
- Press the Authorize Now button.
- Choose the third option, I have received an authorization file.
Press the Browse button.
- Go to the folder where you have saved the provisioning file.
Select it.
Press Open.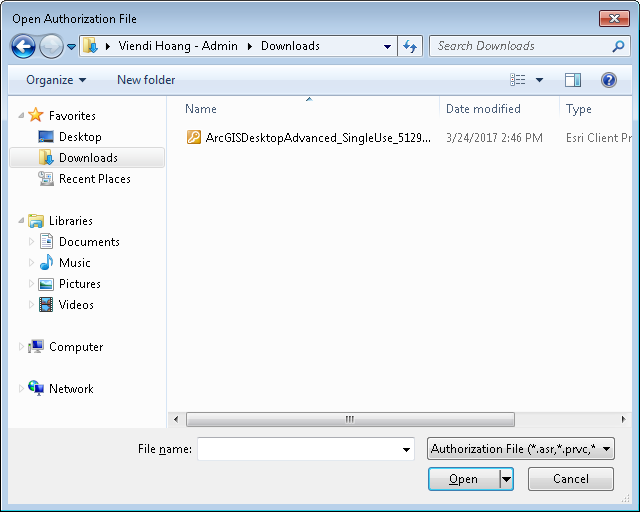
- Press Next.
- If you are connected to the internet, choose the option to authorize using the internet.
Press Next.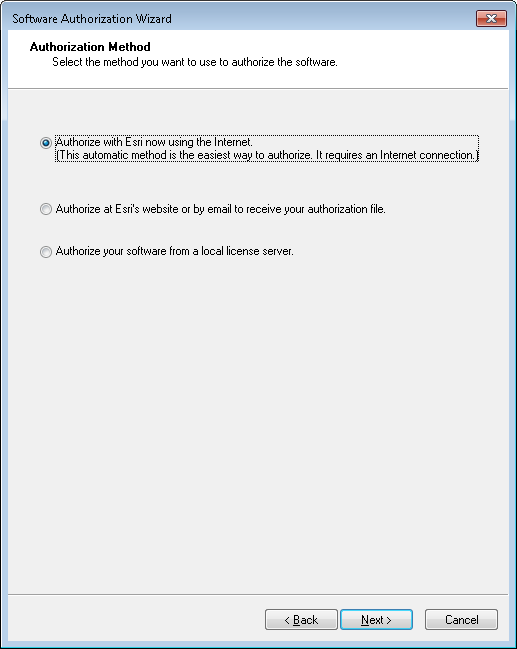
- Leave all filled-in items for Information.
Press Next.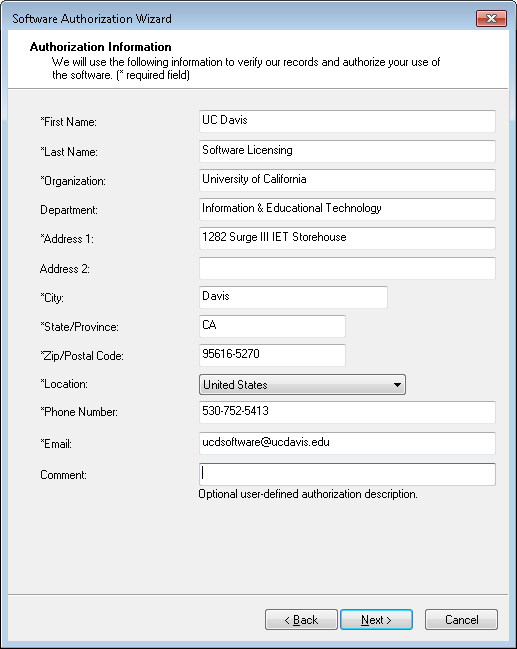
- Select options that are appropriate for you.
Press Next.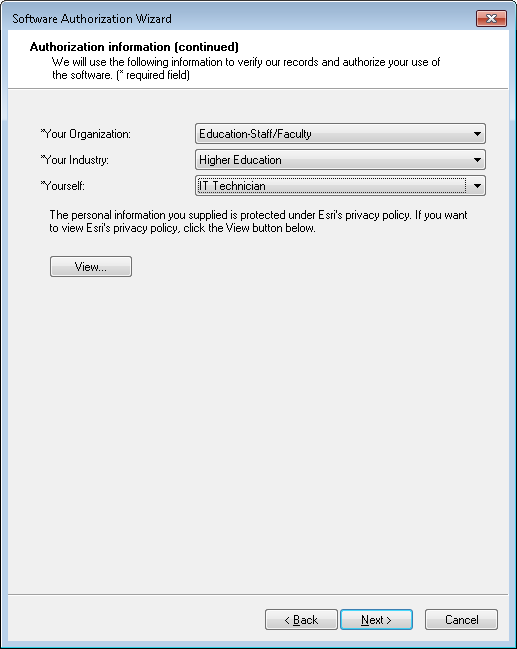
- Leave the authorization number as is.
Press Next.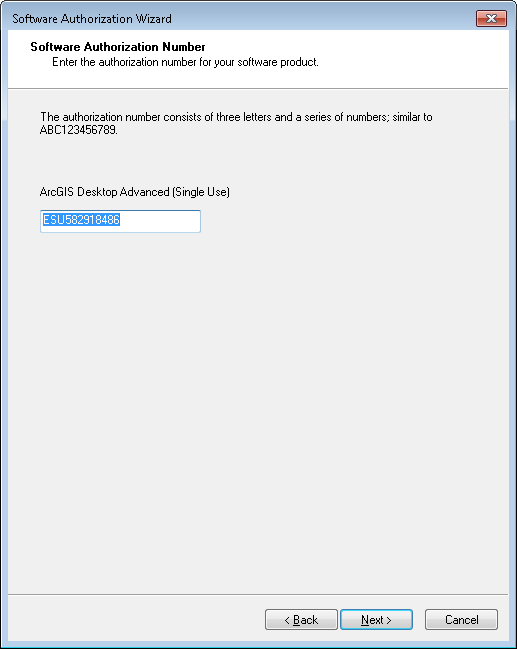
- Leave the authorized extensions as their default values.
Press Next.
- Optional: Add an evaluation license for the Full Motion Video extension.
Press Next.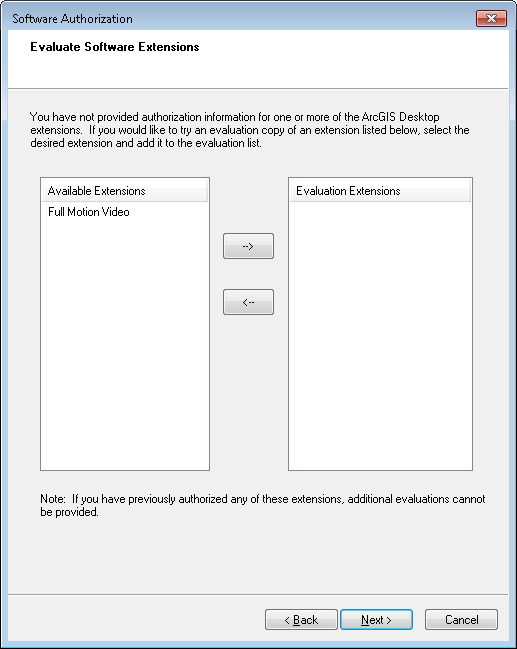
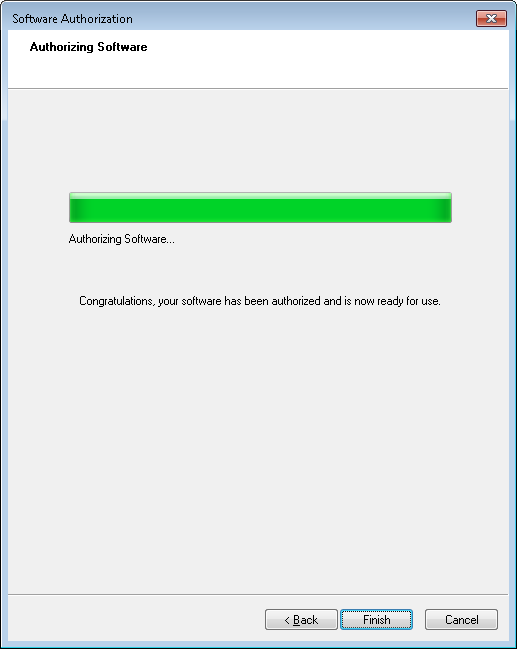
- Wait for the authorization to finish.

- Press Finish.
0 Comments