If you need to remap your keyboard keys, Microsoft has a tool called The Microsoft Keyboard Layout Creator. This guide will show you how to install, edit, and use the new keyboard layout using US keys on Windows 10.
There are five parts to this guide:
- Download and Install The Microsoft Keyboard Layout Creator, which allows you to remap keys
- Remap keys
- Install the remapped keyboard onto any computer
- Use the remapped keyboard
- Remove the remapped keyboard
Download and Install Software
If you already have The Microsoft Keyboard Layout Creator installed, skip to the section, Remap Keys.
- Download the software
https://www.microsoft.com/en-us/download/details.aspx?id=102134 (1.4)
Optional: download the software after step 10
Supported Operating Systems: Windows Server 2003, Windows Server 2003 Service Pack 1, Windows Vista, Windows XP, Windows XP Service Pack 1, Windows XP Service Pack 2
Requires: .NET Framework 2.0 - Go to Programs and Features
- Right click on the Start Menu

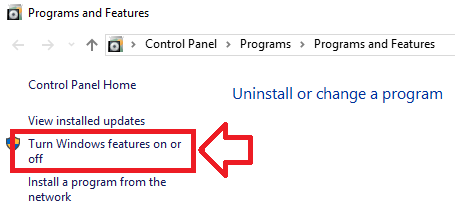
- Click on Programs and Features

- Right click on the Start Menu
- Click on Turn Windows features on or off
- Check the box to enable .NET Framework 3.5 (includes .NET 2.0 and 3.0)
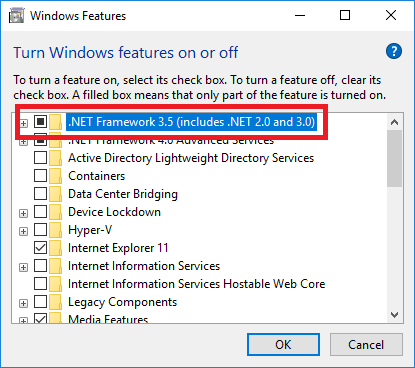
- Press OK

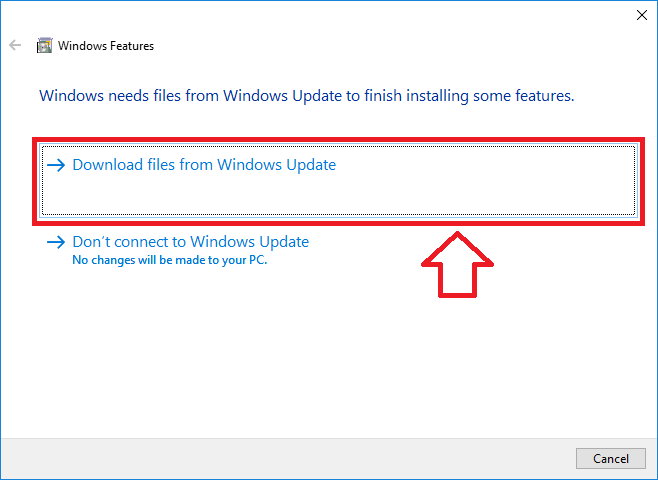
- Select the option to Download files from Windows Update
- Wait for the download to finish
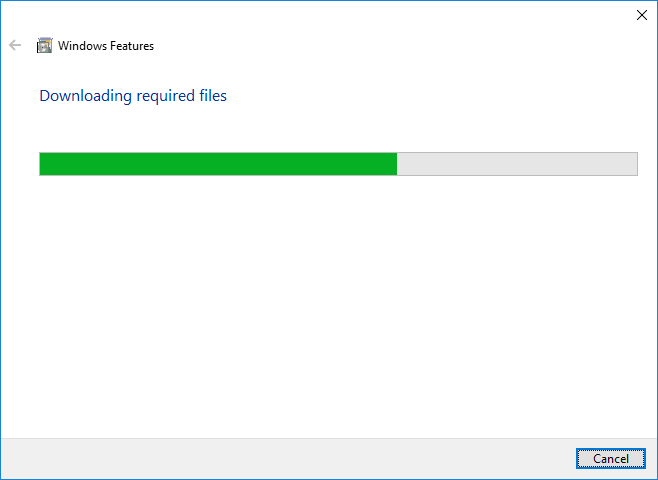
- Wait for the changes to apply
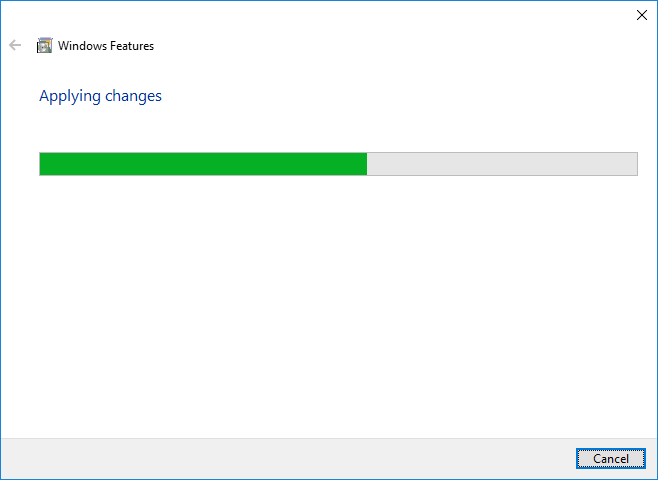
- Close the window once it completes
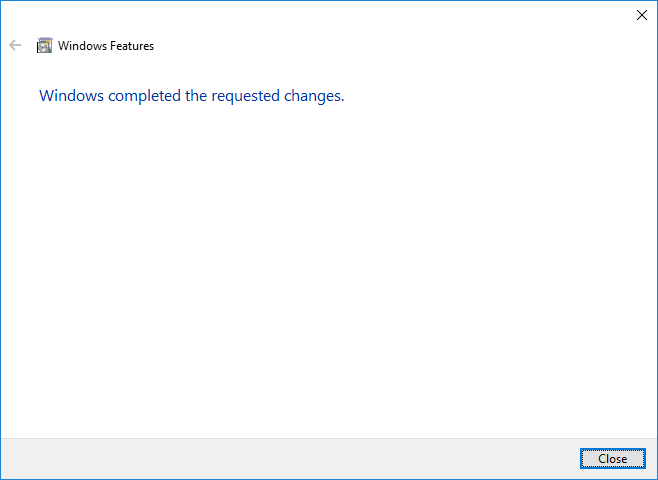
- Close the Programs and Features window

- Browse to your downloaded MSKLC installation file

- Run it
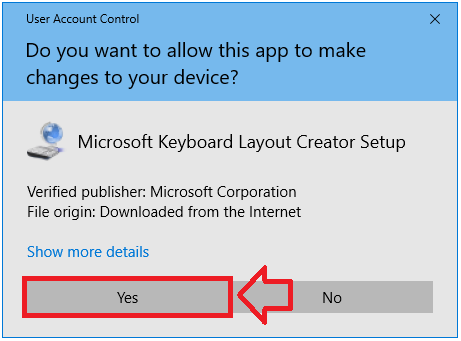
- Accept the UAC prompt
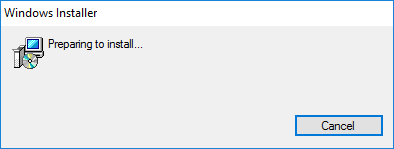
- Click on the Setup button
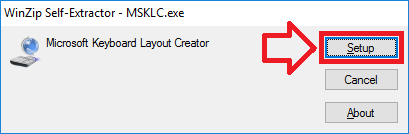
- Wait for the installer to start
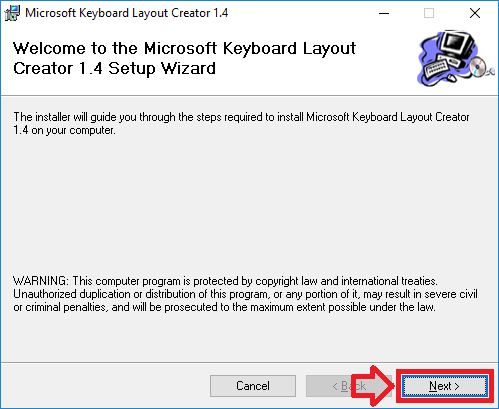
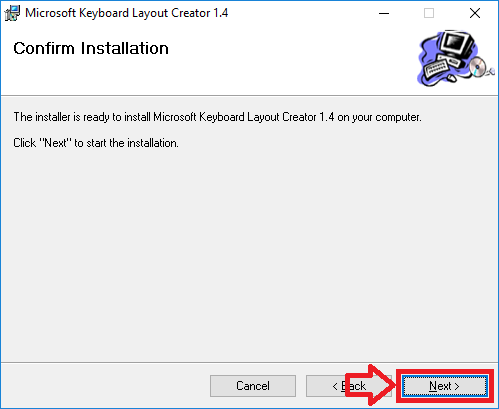
- Click on the Next button
- Accept the License Agreement
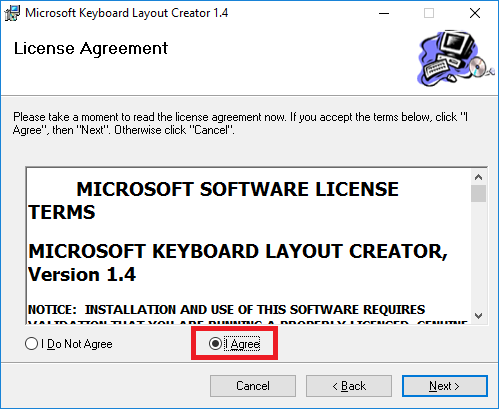
- Click Next

- Keep the Installation Folder as the default location
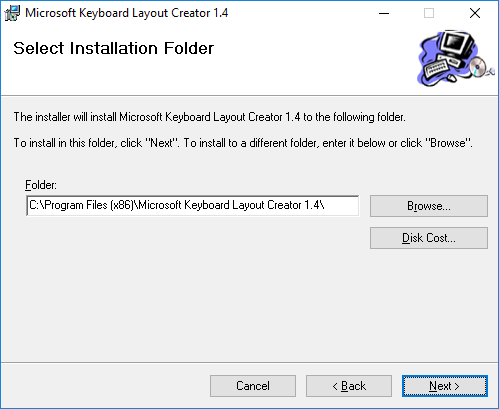
- Click Next
- Click Next to start the installation
- Wait for the installer to finish
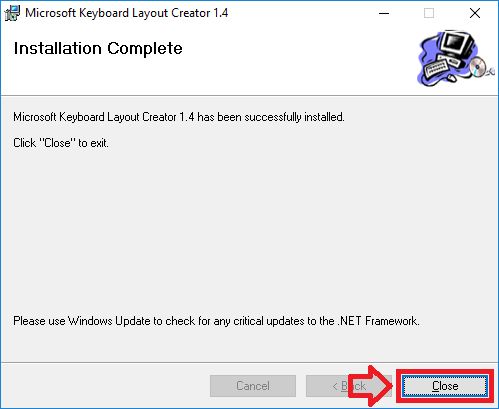
- Click Close when finished
Remap Keys
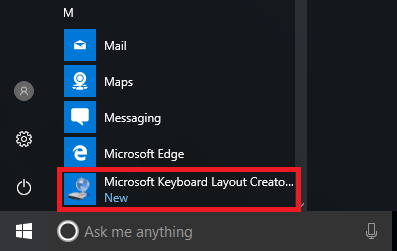
- Go to the Start Menu
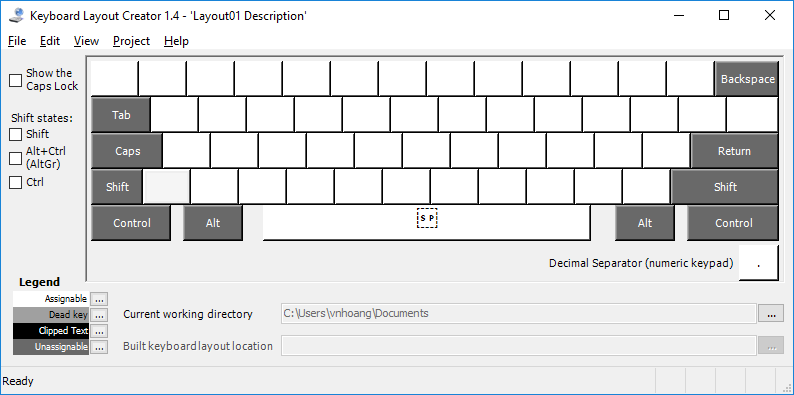
- Open the program, Microsoft Keyboard Layout Creator 1.4
- When first opened, the keyboard has no layout
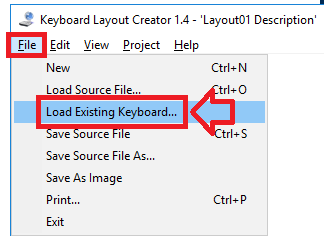
- Go to File, then click on Load Existing Keyboard...
- Browse to your language
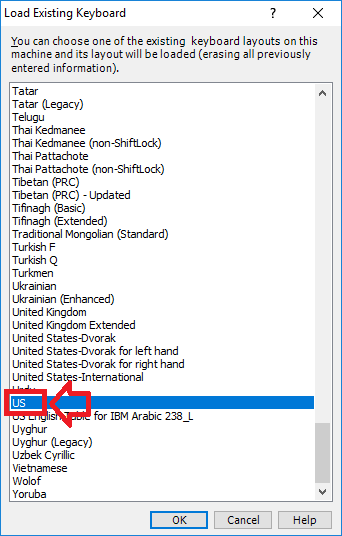
- Click OK

- Click on any key to change it

- Type in the new key
Note: it IS case sensitive
- Press OK when you've entered in the remapped key
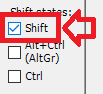
- Press the Shift checkbox to edit capitalized keys when the Shift key is pressed
- Change any key as necessary

- Optional: Save Source File so save all remapped key changes
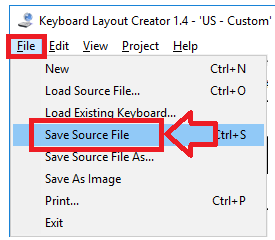
- Go to File
- Click on Save Source File (or use the keyboard shortcut ctrl+s)
- If you have to review the information, you can say Yes

- Give it a Name and Description that you can easily identify
Note: The Name field cannot exceed 8 characters
Note: The Description field if what you will see when changing the keyboard to use. Make it memorable or descriptive - You can put anything you want in the Company and Copyright fields
Note: The Company cannot be blank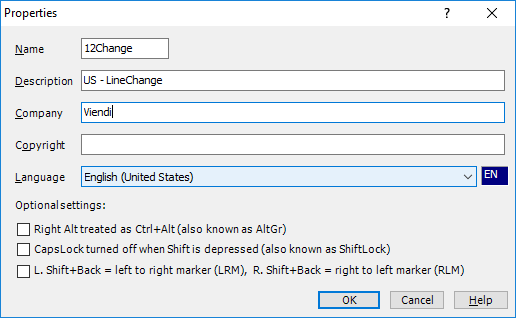
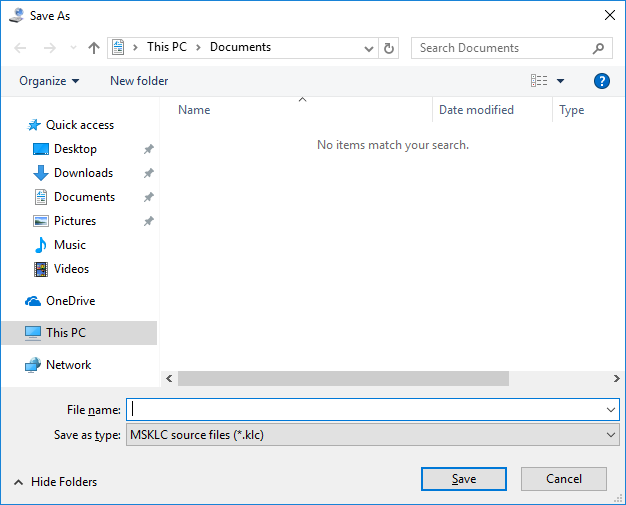
- Save the file to your desired location
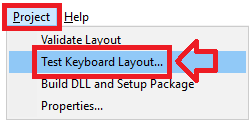
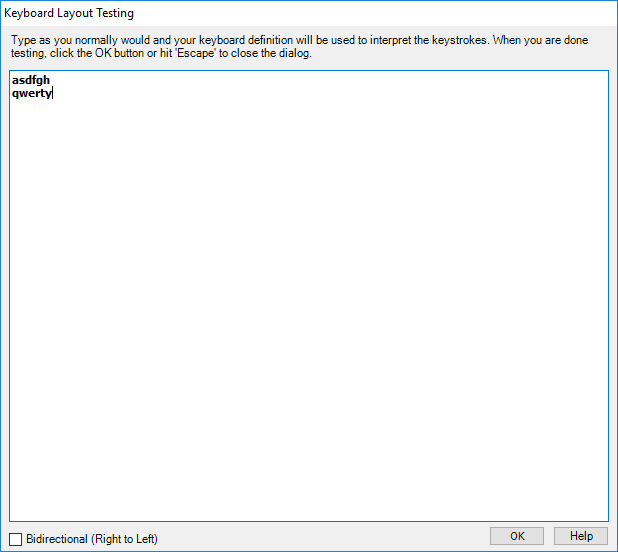
- Optional: Test the layout
- Go to Project
- Click on Test Keyboard Layout...
- Type in anything
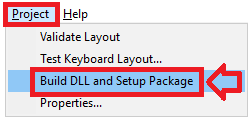
- Once you've finished making all key changes, go to Project
- Click on Build DLL and Setup Package
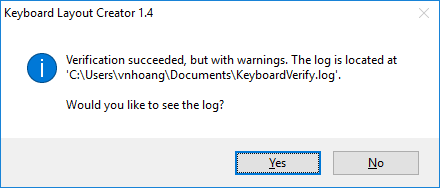
- If you a message about warning, view the warning. Decide whether to make changes before proceeding
- If you get a message asking to Continue, say Yes
Optional: check the box to not show the dialogue again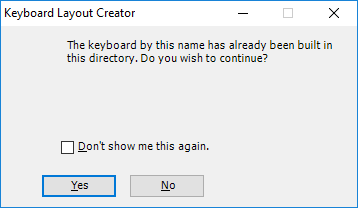
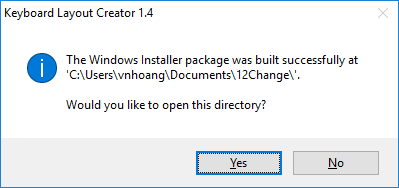
- Your DLL and Setup Package are complete when you get a message saying it was built successfully
Install Keyboard
- Browse to the location of your saved Setup Package
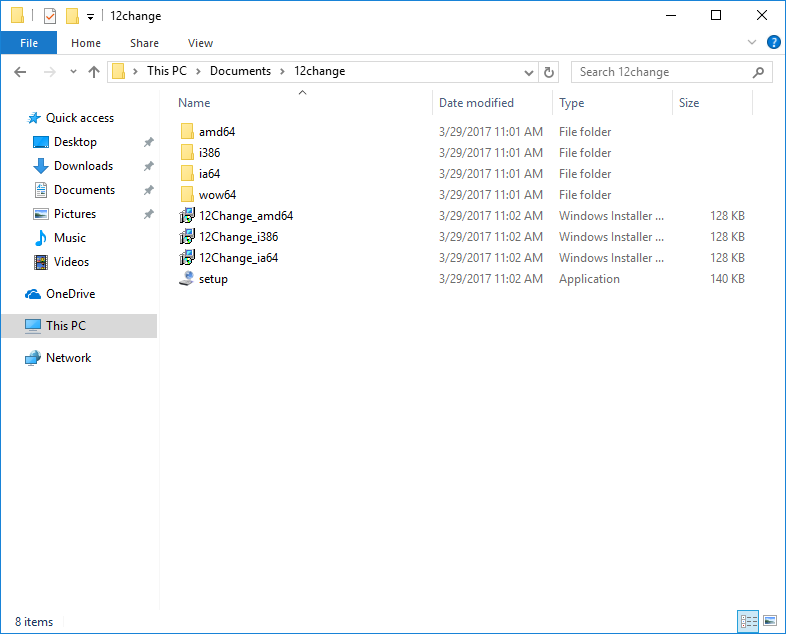
- Run the installer
You can either run the Setup file, or the appropriate installer matching your computer's architecture - Wait for the installer to load

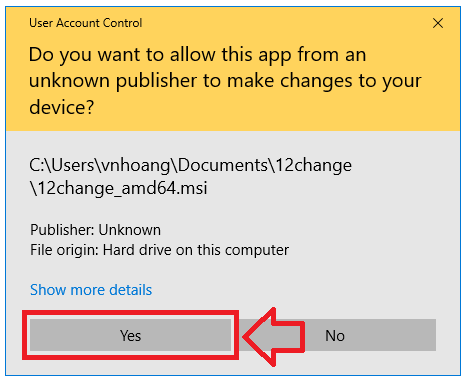
- Accept the UAC prompt
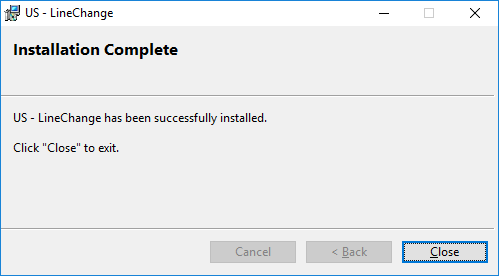
- Close when finished
- Restart your computer
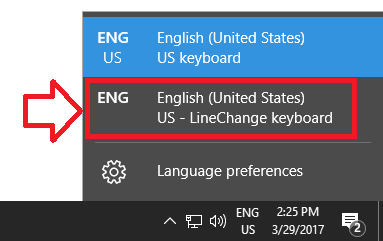
Use the remapped keys with Windows
- Use the new keyboard by clicking on the Language icon by your system tray/clock
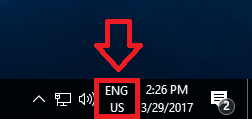
- Change the keyboard by selecting another
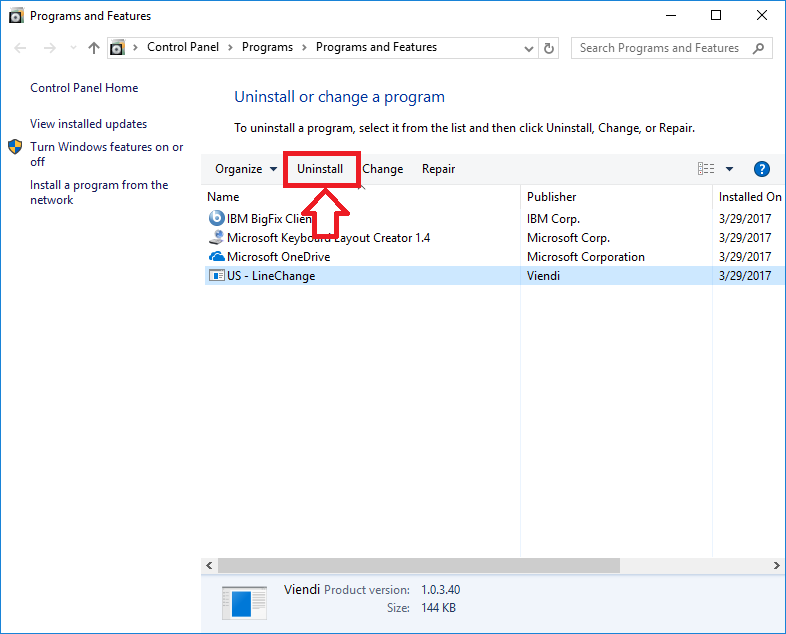
Remove the keyboard
- Go to Programs and Features
- Select the remapped keyboard
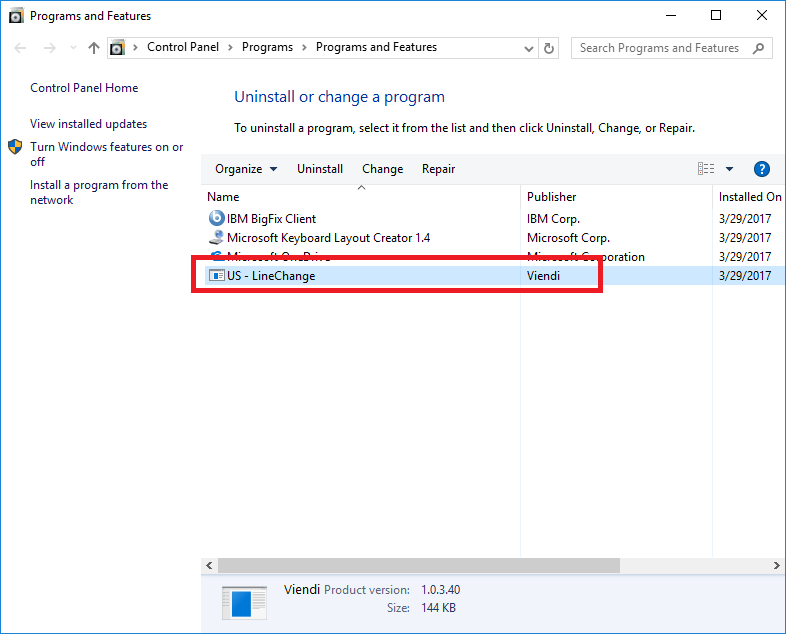
- Uninstall it
0 Comments